
Managing Documents in the CMS
Contents
Uploading New Documents
You must login to Cascade CMS. Select the site. Then at the top left, you will see the Add Content option.
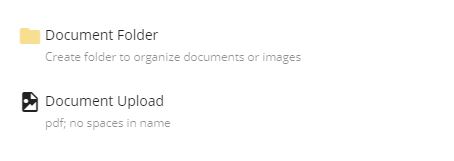
Once you select this option, you will see the option to add a documents and a document folder. Select "Document Upload". Notice under the option are helpful hints:
- The document must be a PDF.
- No spaces are allowed in the documents name.
Content

A form will open to guide the document upload process.
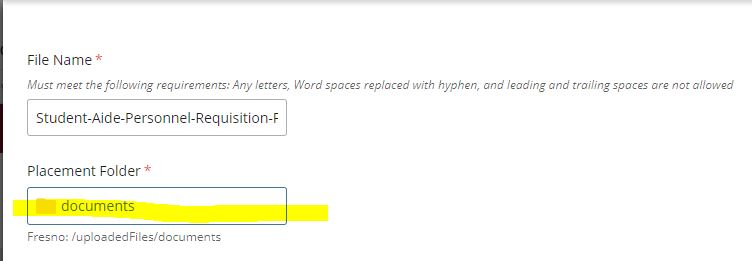
File Name
Process:
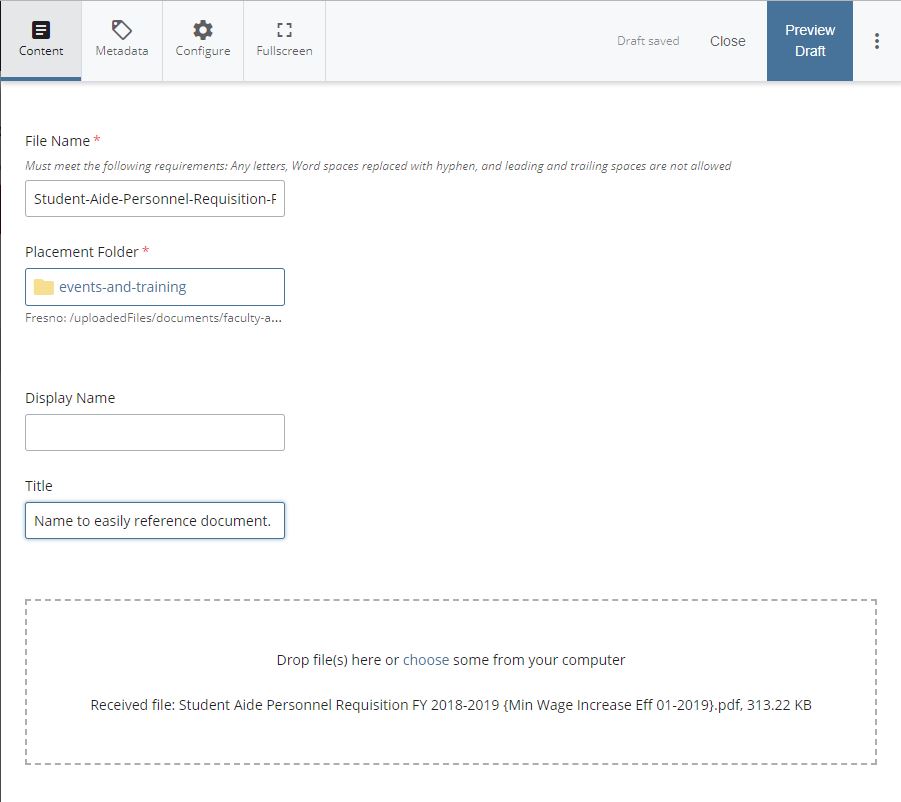
When you drop the file or select the file from your computer, the name of the document will auto fill the File Name form area.
If the file name has blanks, a warning notice will appear. This notice will ask if you want to use the suggested name. The suggested name is the orignal name of the document will all spaces replaced with hyphens.
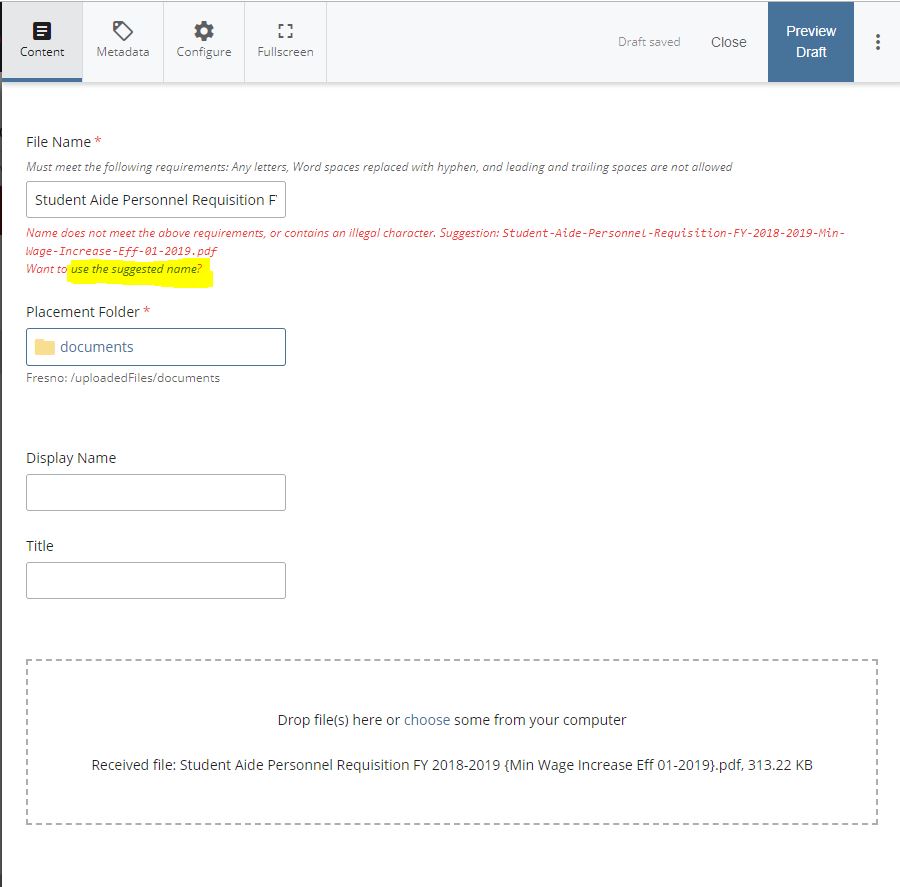
Placement Folder
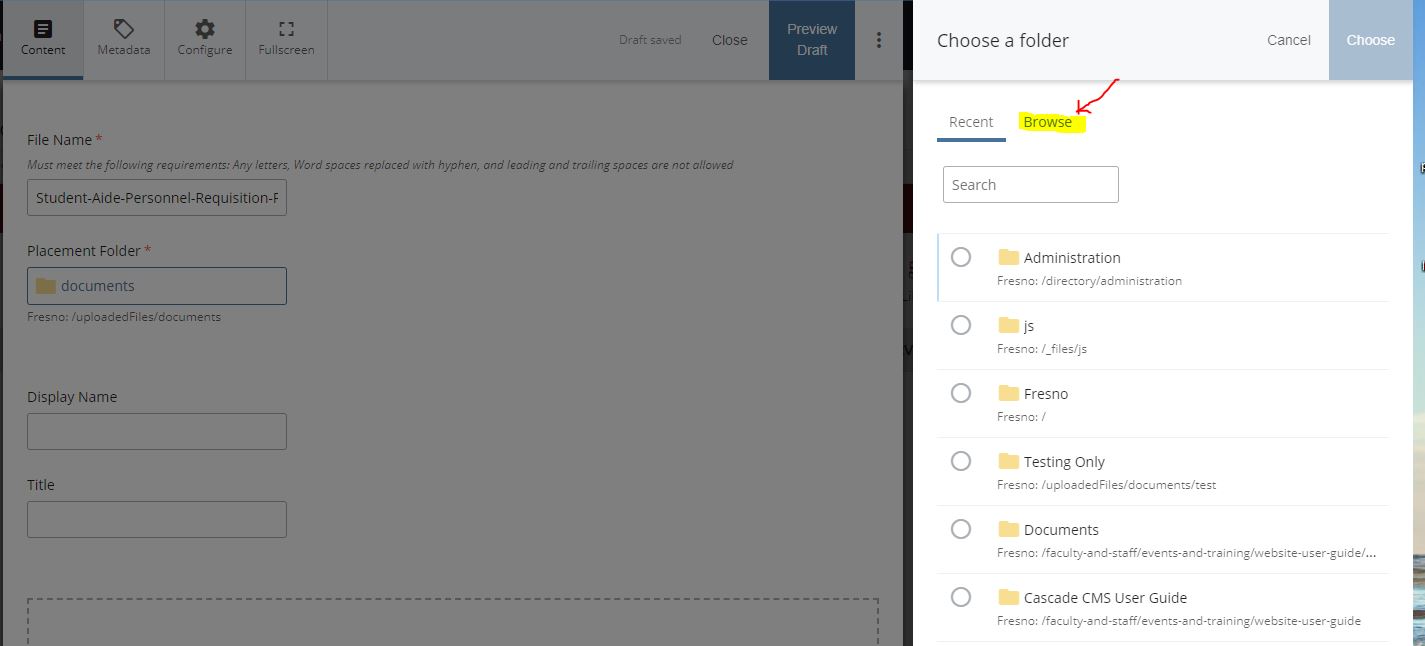
The placement folder is where the document will be stored. By default, the form will list the placement folder as documents. You will need to select the subfolder within the documents folder.
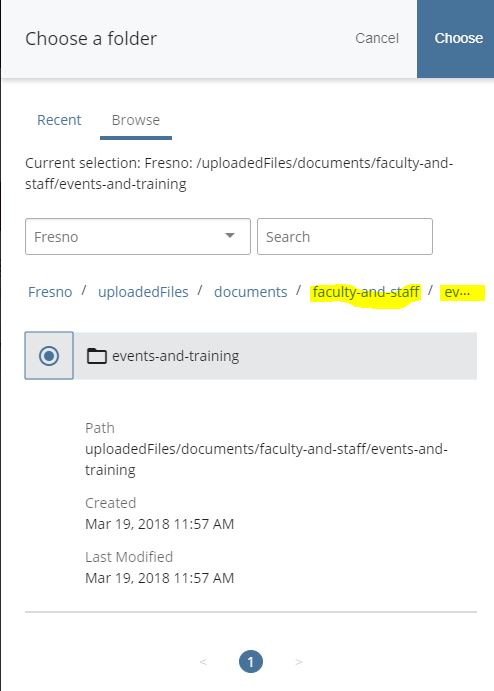
Click on the documents option to open a selection menu. Then select the Browse option to see the folder layout instead of most recently used folders.
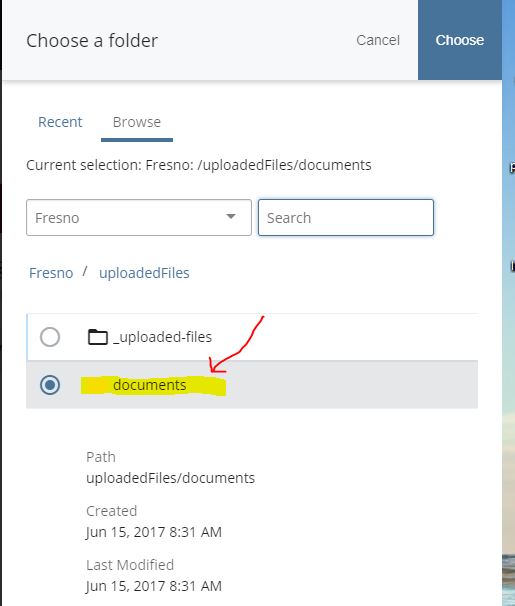
Click on the word "documents" (not the circle option) to see the subfolders.
Now the subfolders will show. To select a subfolder, click on the circle. To see the folders within a subfolder, click on the name of the folder.
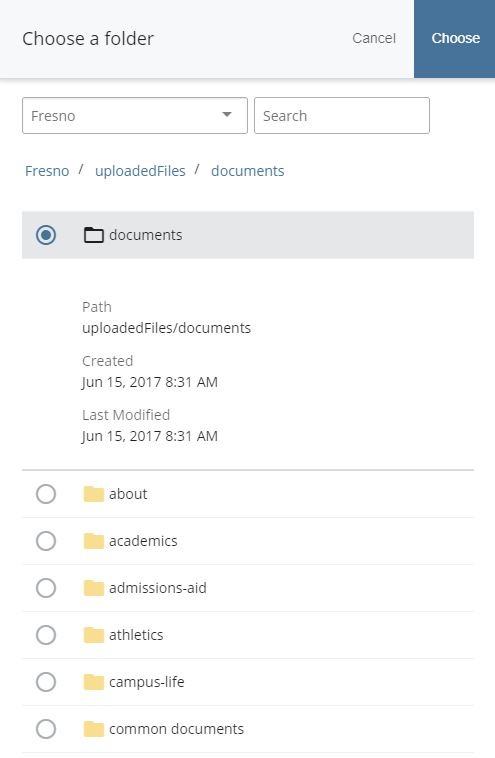
When you select the final subfolder that you wish to place the document in, you will see the file path.
URL
The File Name will be the last part of the URL that the document will be referenced by. The URL will be the name of the college website, the folder path, and then the file name.
For example:
On the Fresno City College website, in the financial aid folder, is a file called "2_2018-2019_dependent_verification_worksheet_02.2018_final-es.pdf". So the URL to that document is https://www.fresnocitycollege.edu/uploadedfiles/documents/admissions-aid/financial-aid/financial-aid-forms/18-19-fa-forms/2_2018-2019_dependent_verification_worksheet_02.2018_final-es.pdf
Best practice:
Name the file a name that is generic and will last year and after year. In this case, financial aid always has two years of files available concurrently; so having a method to clarify the file name is important. The reason to use a generic name is because, the file can be updated leaving the URL exactly the same. The prevents broken links.
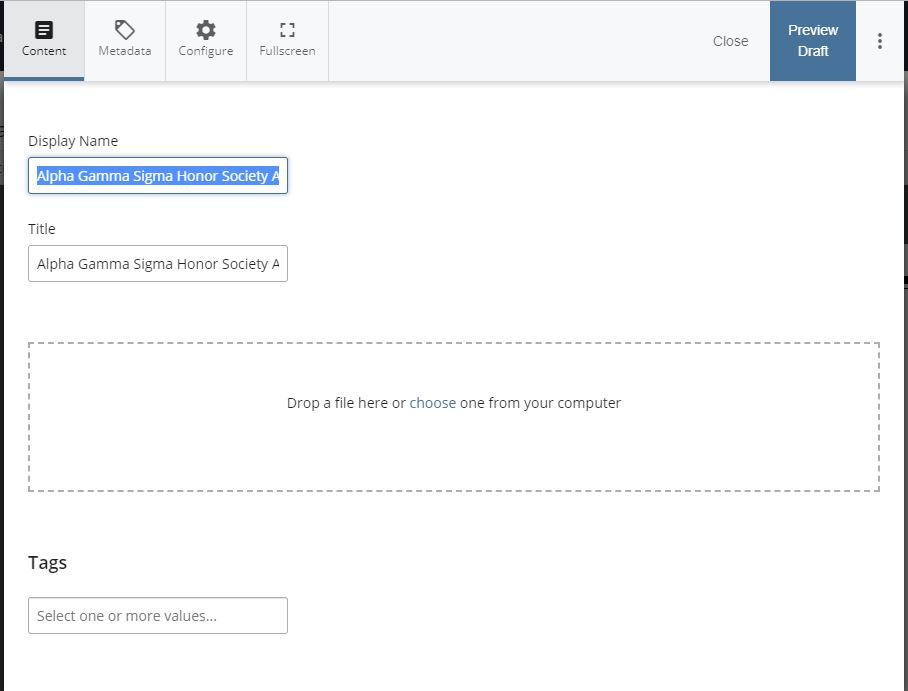
Display Name
This is optional.
Title
This is the name that will be shown in the menu, the search, the used for Google Searches. The Title is the formal name of the document. Make sure that this name is clear and meaningful.
The title is easy to change and update. Typically the year of the document should be included as part of the title if the year is important. For instance, if a form can only be used in the year 2019 and a different version will be used in 2020, then including the year in the title is important.
Completed content section of form:
MetaData
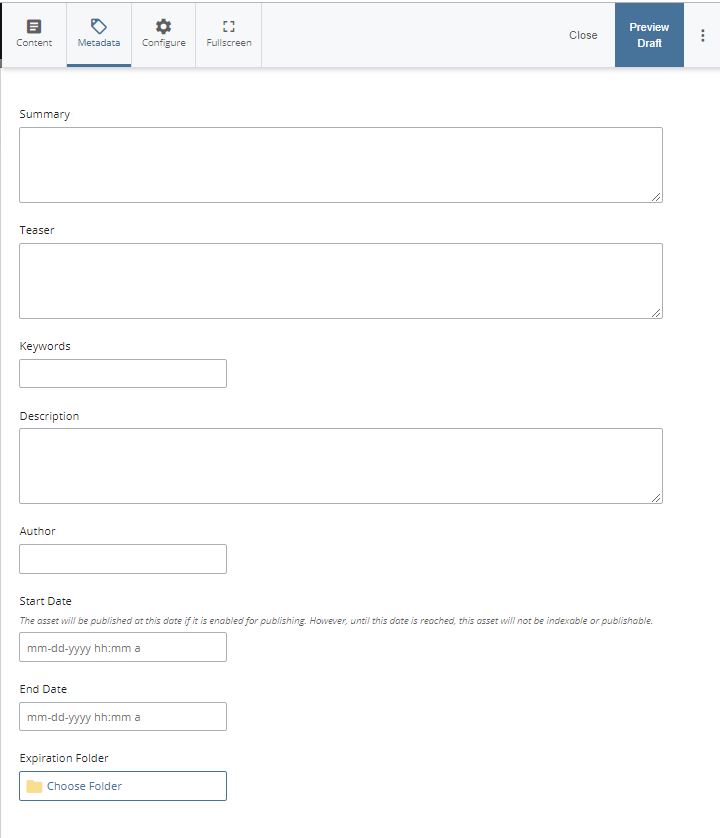
Summary
Used as a description in searches. Filling out this portion makes the document easier to find and will have a better overview.
Start Date
Date you want the document to go live. It is possible to have documents not be visible until the assigned date.
End Date
Date you want a document to no longer be available. Links to the document will lead to a broken page. Searches that bring up the document will link to a broken page. It is better not to depend on this option, but it is available if needed.
It is better to remove links to the document or to edit the document and replace with the correct version. It takes about two weeks for documents to no longer show up in the site search.
Expiration Folder
If you want to keep copies of older documents for reference, but do not want them available on the live website, you can create an archive folder and set your documents to be saved in the folder once they reach their end date. This can also be used for documents that you only want available for limited time frames. You can store the documents in the archive folder and then move them back out when you need them again.
Editing Existing Documents
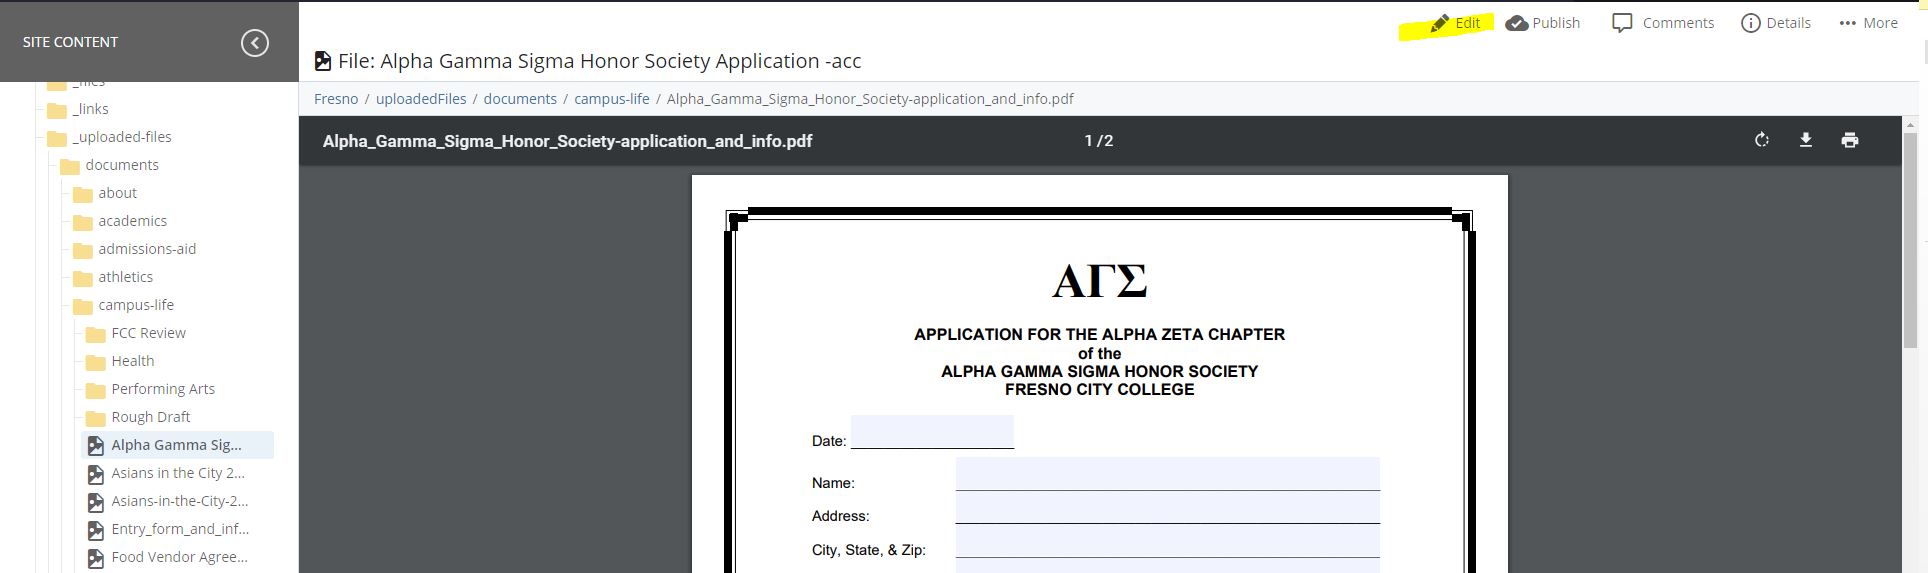
Go to the document you wish to update. You will need to view the Site Content menu on the left side. Click on the "Site Content" menu item on the top to view the left hand side Site Content menu.
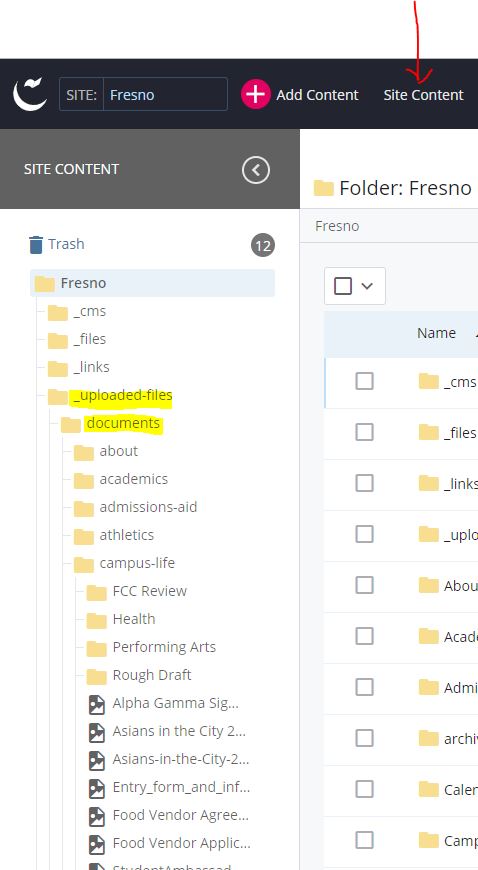
Open folders until you find the document you need to update. Click on the name of the document. The document will appear in the main viewing window. Choose the edit option on the top right.
Now you will have the option to upload a new document. This new document will replace the current document. The URL will not change. You can change the Title to update the year or the document name.
You can add a tag to make finding the document easier (category).
If you need to update the URL of the document to a better generic name, right click on the name of the document in the left hand site content menu. A pop-up menu will appear. You can rename the document.
Note:
Until the site republishes at night, the links to the document will not work because you have changed the URL.
Adding Document Folders
You must login to Cascade CMS. On the top left is the Add Content Option.
Then choose to add a Document Folder.

Select where you wish to place the folder using the same method as for selecting to place a document (See Upload New Document)
To move existing documents into the new folder, right click on the document and select "move". On the pop-up screen, select the location you wish to move the document too. Once the workflow is complete, the document will be at the new location. Links on other pages to the new location will automatically be updated at night when the entire site republishes.
Document Workflow
Steps:
- Document Accessibility Check
- Admin Verification
- Document Publish on Website


